February 5. 2012: Mirror Mirror on the Wall.
My hubby gets all the credit for this project! I woke up from an afternoonnap hibernation to find that our guest vanity had been fancied up a bit!
The project was pretty easy, and you could get as fancy and creative with it as you want depending on the type of moulding and paint color you chose.
We chose a wide piece of moulding, pretty basic in design, that was actually intended as baseboard. You will also need some liquid nails, paint, caulk, and a saw (we used an electric saw but you could also use a miter box saw). Then hubby measured the mirror to get the proper angles, and used the saw to make the 45 degree cuts. He then painted the pieces white and glued them flush to the mirror. Once all pieces were up, he caulked the seams where the angles where off just a bit, and repainted the moulding.
Ta-dah...hubby did well!


Now all we need is a little color on those walls...
the hubby sighs. ;)
----------------------------------------------------------January 16.2012: Office Space.
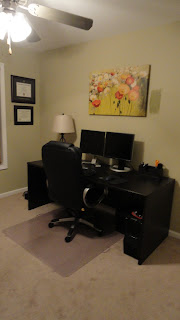
let me just say that you could spend hours on there we found some bargain deals on office furniture. Just what the hubby needed! Remember how I mentioned he had two computers, well he ordered a 72" long desk for those babies! I am pretty sure something that size would hold two computers, plus two more, but hey as long as it fits thru the doorway, and he likes it, I'm good! He also picked out an office chair, which is pretty comfy!
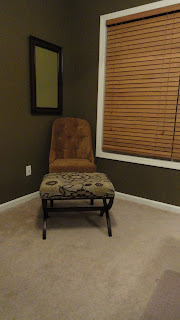
We were out returning a Christmas gift, when I came across a vintage inspired upholstered chair. What was even better was that I managed to get this chair for a whopping $19 thanks to a printable coupon, a gift card, and the hubby's love for the clearance section. I decided that this would be the perfect comfy chair to sit in while I use my laptop.
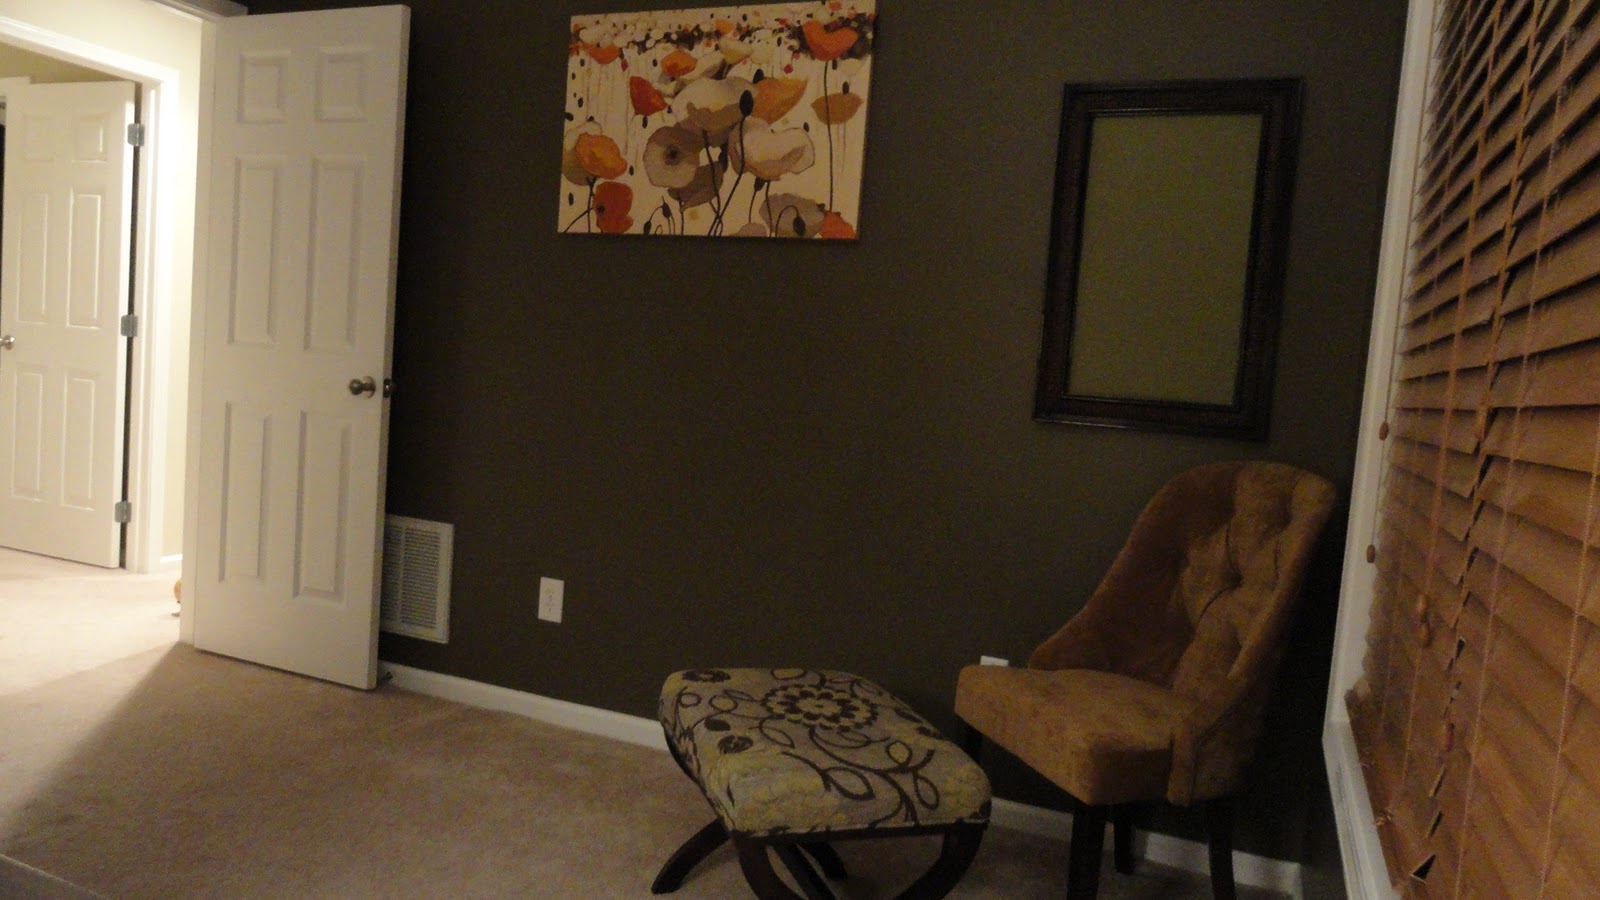
So with these three new items, there was no better time than now to give this room a purpose! We had planned on painting this room since we moved in due to the boring color and scratched up walls, so after 30 minutes in the paint section we finally chose a color. We decided on something different, a medium brown color that would make the artwork we already had pop out on the walls.Not gonna lie, I was a little nervous when the lady behind the counter was mixing the color. We scored another deal with the paint and paint supplies...the grand total was a bank-breaking $15 (thank you remaining balance on our wedding gift cards!)


 --------------------------------------------------------
January 10. 2012: Picture Frame Makeovers.
If you didnt know, I am obsessed with pictures, I think its a great way to capture a memory in the moment. So today I decided to give some cheap clearance store bought frames some makeovers. Check out the reveal...
Sad little frame #1:


When you walk into our home there is a big foyer with tall ceilings and amaze lot of doors that lead to other areas. For a long time we had nothing in this space because we rarely use the front door entry. So when I was cleaning out the office the other day I came across an idea for this bamboo table I have had forever.


 January 8. 2012: Simple Chalk
 Message Board.
My hubby gets all the credit for this project! I woke up from an afternoon
The project was pretty easy, and you could get as fancy and creative with it as you want depending on the type of moulding and paint color you chose.
We chose a wide piece of moulding, pretty basic in design, that was actually intended as baseboard. You will also need some liquid nails, paint, caulk, and a saw (we used an electric saw but you could also use a miter box saw). Then hubby measured the mirror to get the proper angles, and used the saw to make the 45 degree cuts. He then painted the pieces white and glued them flush to the mirror. Once all pieces were up, he caulked the seams where the angles where off just a bit, and repainted the moulding.
Ta-dah...hubby did well!
Before.


And, after.


Now all we need is a little color on those walls...
the hubby sighs. ;)
----------------------------------------------------------
Why don't we use our office?
Answer: It is not functional, at all. Hubby needs a bigger desk to house his two, yes, two computers, and for goodness sakes an office chair- the poor guy was using a footstool! The small desk in there was mine, but I never used it because I tend to take my laptop with me and plop down somwhere.
After browsing Overstock.com We were out returning a Christmas gift, when I came across a vintage inspired upholstered chair. What was even better was that I managed to get this chair for a whopping $19 thanks to a printable coupon, a gift card, and the hubby's love for the clearance section. I decided that this would be the perfect comfy chair to sit in while I use my laptop.
So with these three new items, there was no better time than now to give this room a purpose! We had planned on painting this room since we moved in due to the boring color and scratched up walls, so after 30 minutes in the paint section we finally chose a color. We decided on something different, a medium brown color that would make the artwork we already had pop out on the walls.
So heres the before:


And here is our new joint office space:


January 10. 2012: Picture Frame Makeovers.
If you didnt know, I am obsessed with pictures, I think its a great way to capture a memory in the moment. So today I decided to give some cheap clearance store bought frames some makeovers. Check out the reveal...
Sad little frame #1:
The before (who are those people?)

My color inspiration, the lid to a pretty piece. I had to get creative when trying to match this color...

The finished product! (I know those people)

I am thinking some pops of yellow will look good in our living room, our colors now are a little drab!
Sad little frame # 2:
The frame was even too boring for photos...
My parents let me cut this map of Greece out of one of their ancient old encyclopedias...

Thought it would be neat if we could remember where we spent our honeymoon...so I decided an old drab frame was perfect for this cool map!

Where in the world is Santorini? Can you see those teeny tiny little dots islands...look hard, the island itself is called "Thera." Paradise how we miss you!
------------------------------------------------------
January 9. 2012: Mail and Message Station.
January 9. 2012: Mail and Message Station.
When you walk into our home there is a big foyer with tall ceilings and a
Here is the table in the office, just taking up space, not serving a purpose...

Here it is in its new location, serving a purpose.

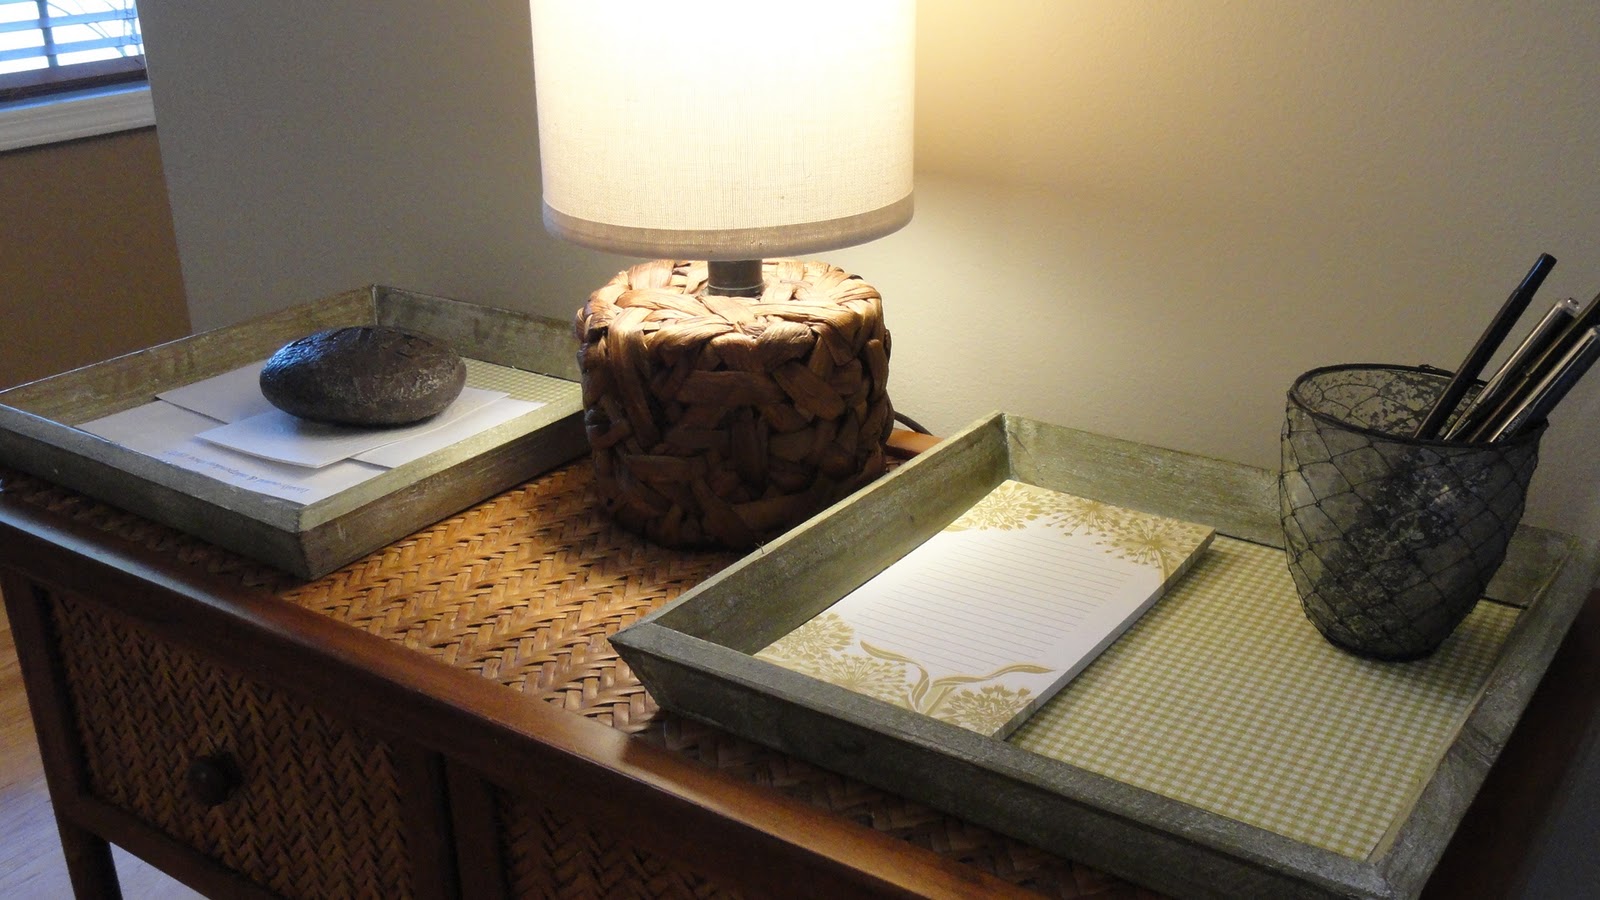
The two trays on top hold mail,
and the other is a place to leave notes, reminders, or to-do lists.
I had some fabric and adhesive spray on hand so I added a little bit of pattern to the trays.
Before:

After:


------------------------------------------------------

We had this small chalkboard left over from our wedding decor and I wanted to incorporate it into our house somehow. Surprisingly, it was really easy to do!
Supplies. I found all of what I needed at Michaels Arts and Crafts.
- Small Chalkboard (if you dont have one, you can use a small piece of glass from a picture frame, or a small scrap piece of wood)
- Black Chalkboard Spray Paint (yes, they do make spray paint that will create a chalkboard effect- pure genius!)
- Frame of any kind (be creative here- you could get really fancy, or keep it simple like I did.)
- Burlap
- Jute string
- Wooden letter (jazz this part up too...I spray painted mine silver, but you could go any direction here!)
- Hot glue (or any kind of sticky adhesive glue)
- Strong Tape
- Chalk pens (again- pure genius, no chalky hands, broken chalk pieces, or chalk dust!)
Steps.
- Spray one side of the material you are using for your chalkboard with black chalkboard spray paint and let dry.
- Attach frame to chalkboard using glue.
- To make your hanger, remember to cut the burlap a but longer than you want it because you need enough extra to attach to the backside of the chalkboard.
- Fold the burlap in half vertically, and lay on flat surface so it creats an upside down U shape.
- Slide chalkboard under the ends of the burlap, and secure the burlap to the back of the chalkboard with tape.
- Tie jute around the burlap forming a small bow. Use glue to secure the bow.
- Attach the finished letter to chalkboard.
- Hang your finished product and get to writing your messages, grocery lists, reminders, or whatever!
ENJOY.
-----------------------------------------------
November 2011: Laundry Room Redo.
November 2011: Laundry Room Redo.
When we moved into our house, we were I was super excited to actually have a space just for laundry! Not because it was an area for actually performing the task of 'doing the laundry,' but because you could easily close the door and not feel guilty about the heaping piles of clothes that were waiting to be washed. Hello, a door, I repeat, a door! This meant we could avoid the forbidden piles of clothes, well at least until we ran out of clean things to wear, or got tired of pulling wrinkled outfits out of a stuffed dryer!
Drab:

I wanted to add some color to this room and I had two days off work so heres how I worked my magic...


I kept my hubby out, however he snuck in and left me some graffiti.
Fab:
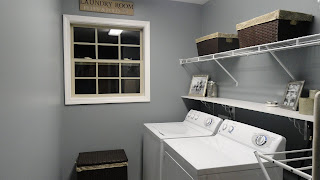


Maybe this pretty room will make me actually enjoy doing laundry? Doubtful.